
 Here's how you make them!
 Materials needed:
Tiles (from the hardware store.. about 16 cents each)
Scrapbook paper (whatever design you like)
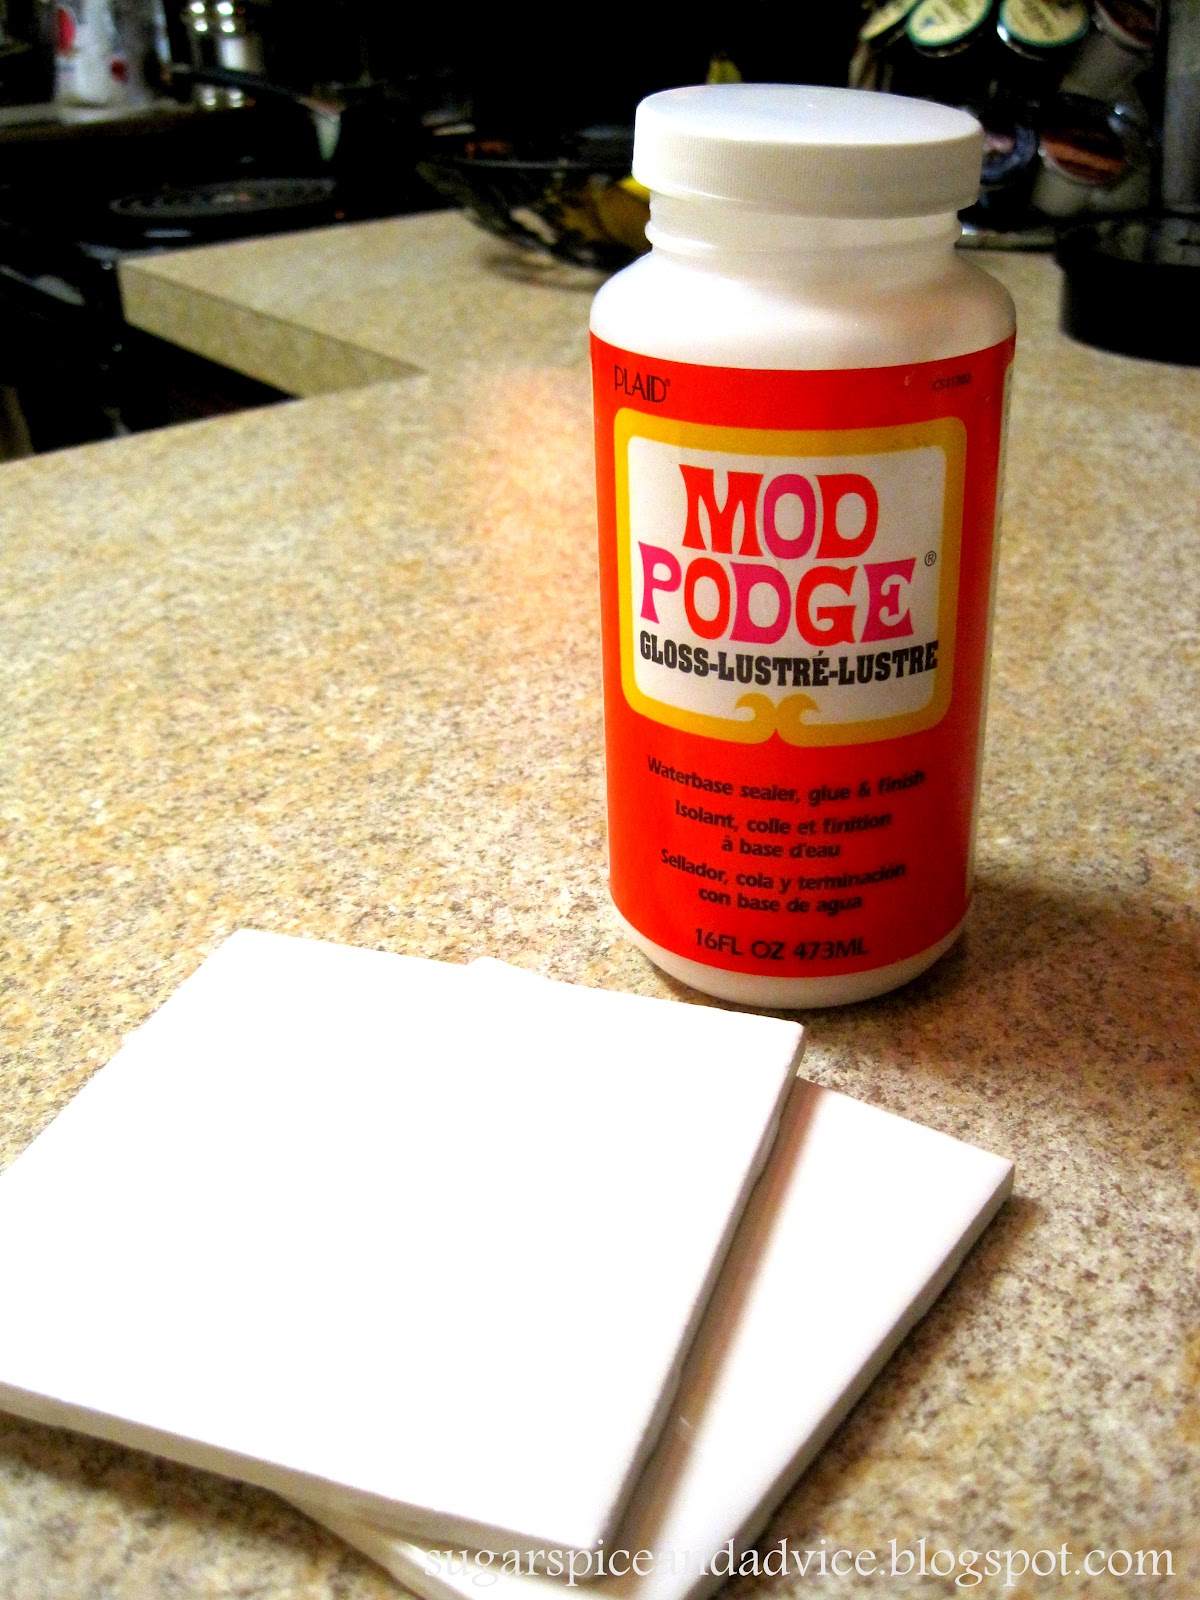
Mod podge (~$6 at Michaels or other craft store)
Foam brush (~$1 at the hardware or craft store)
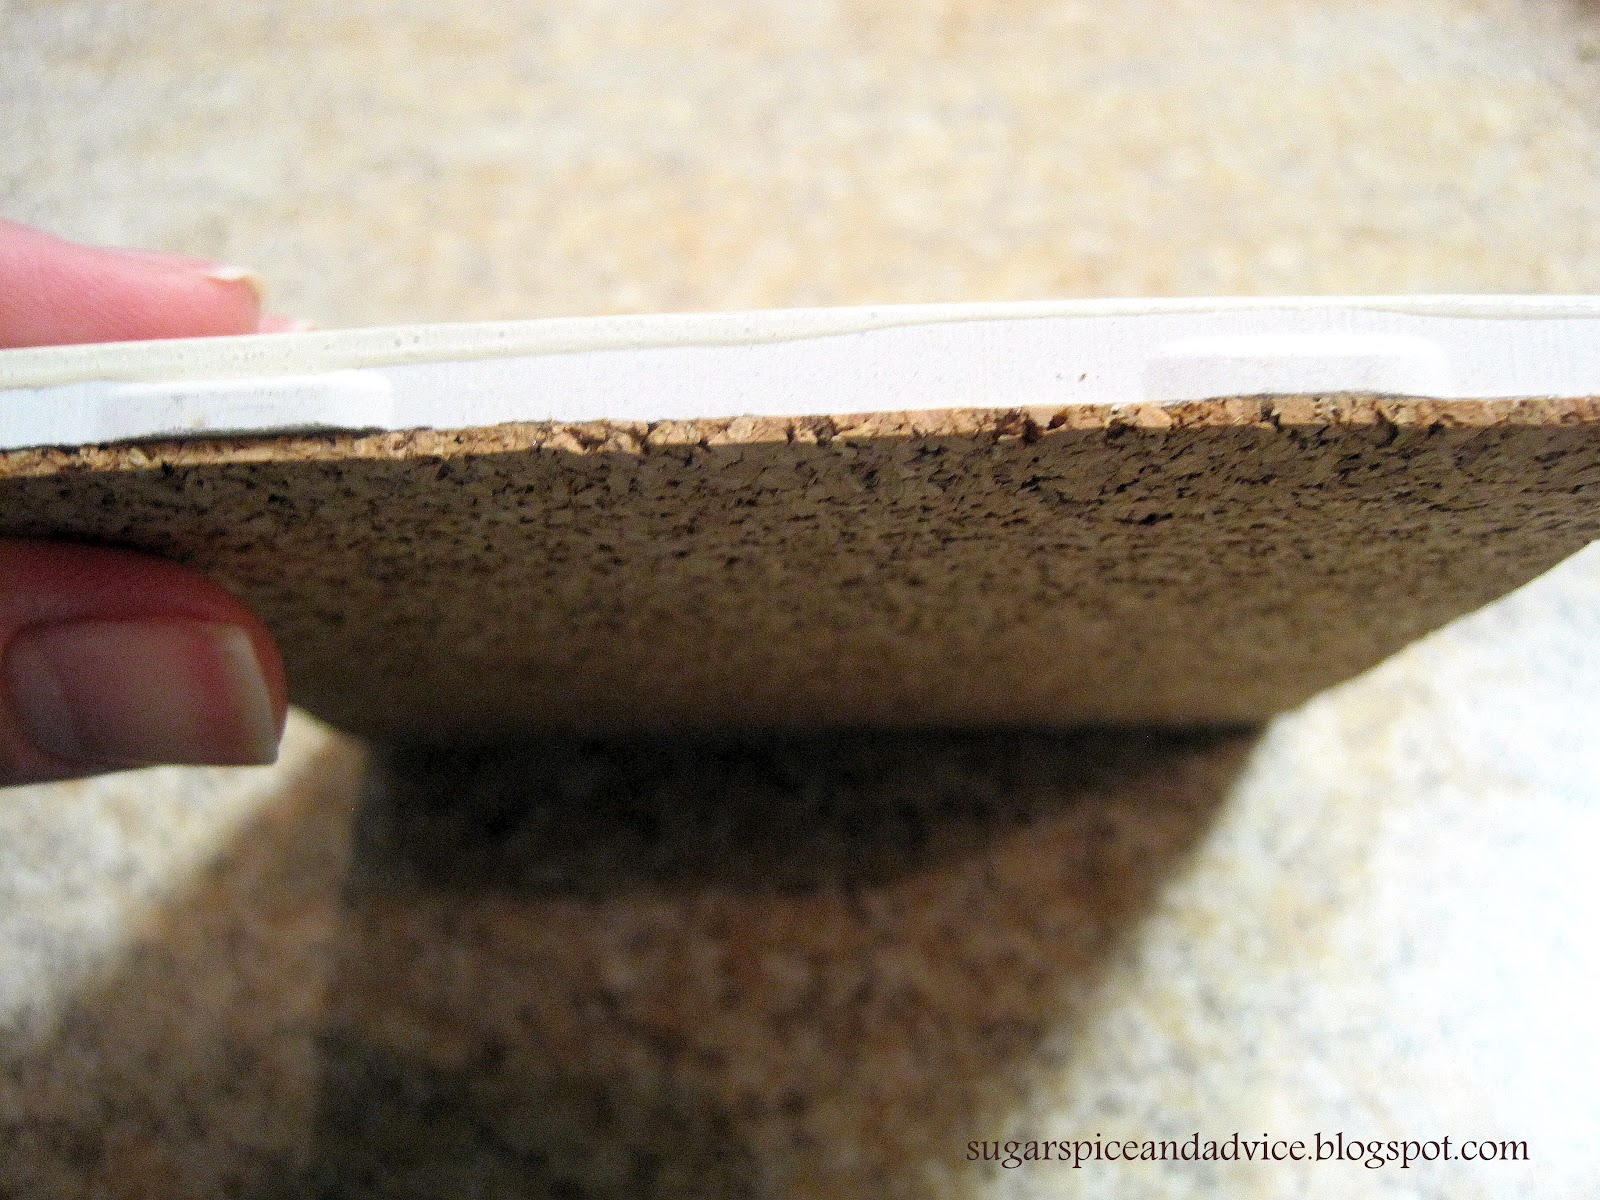
Cork (I used cork shelf liner found at the hardware store. You could also use felt sheets or felt pads)
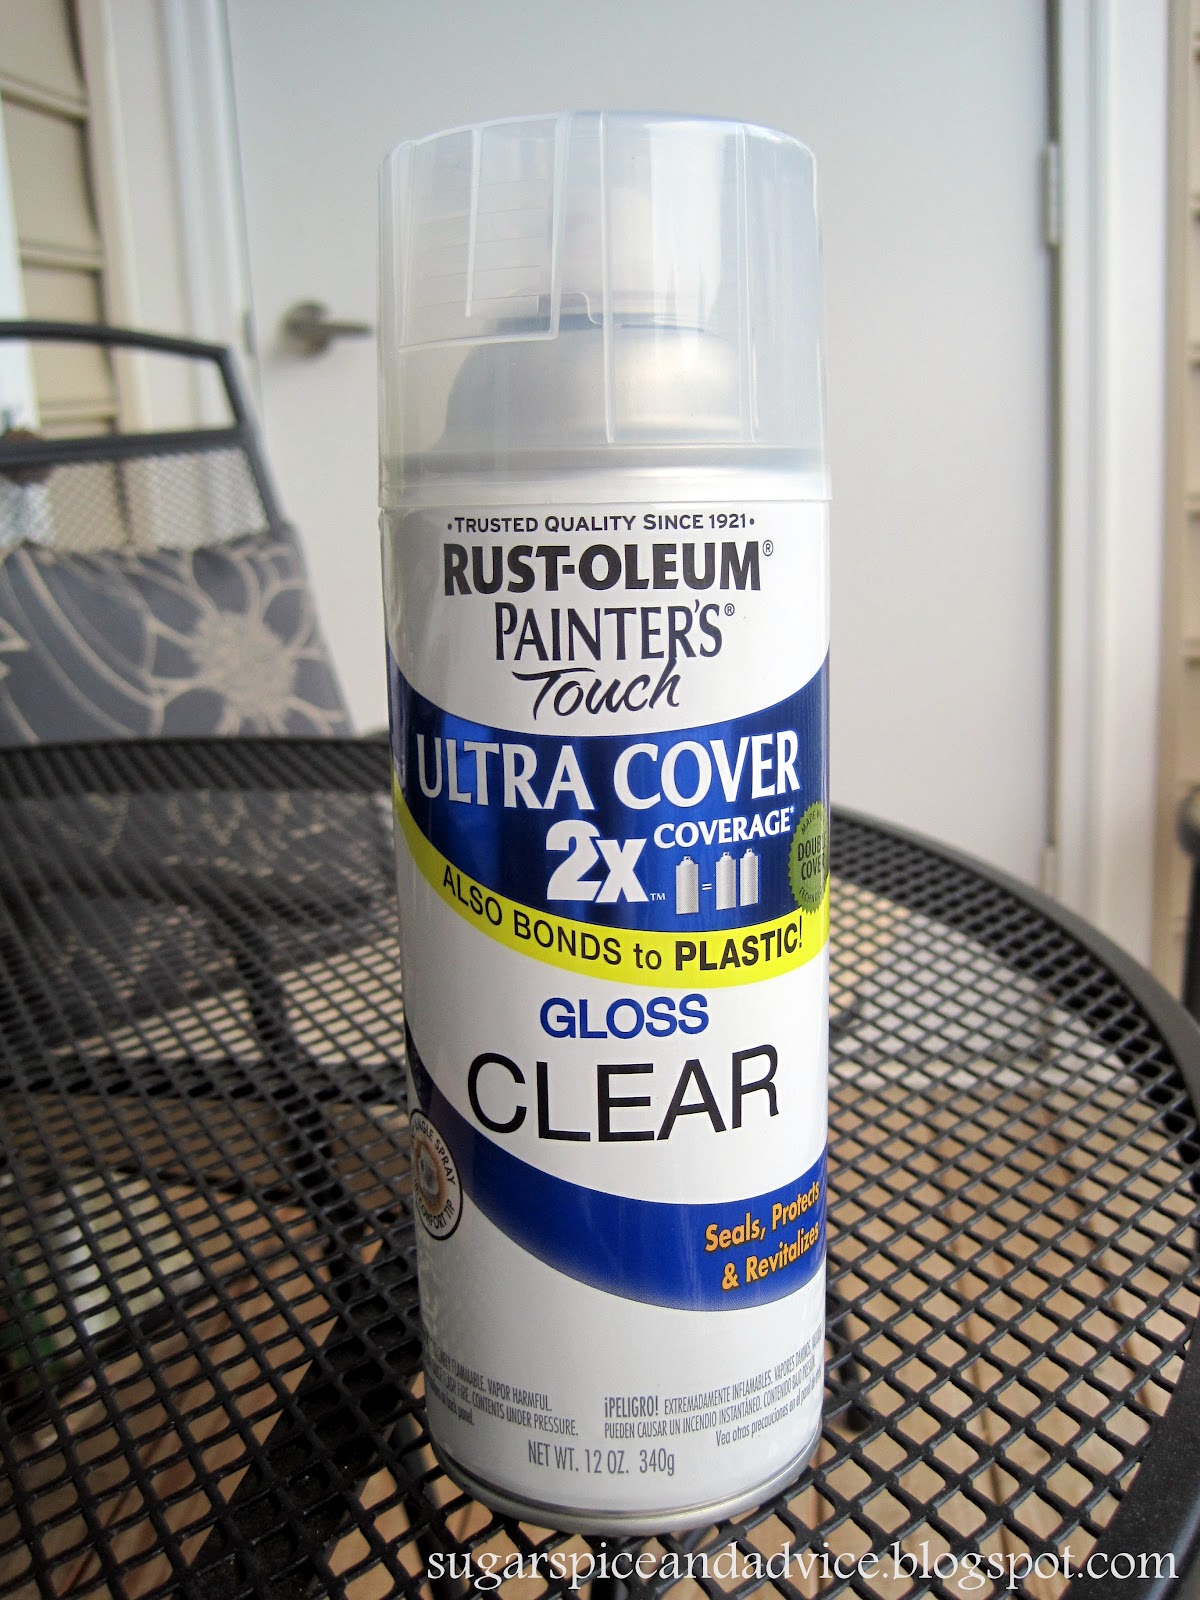
Waterproof sealant (From hardware store)
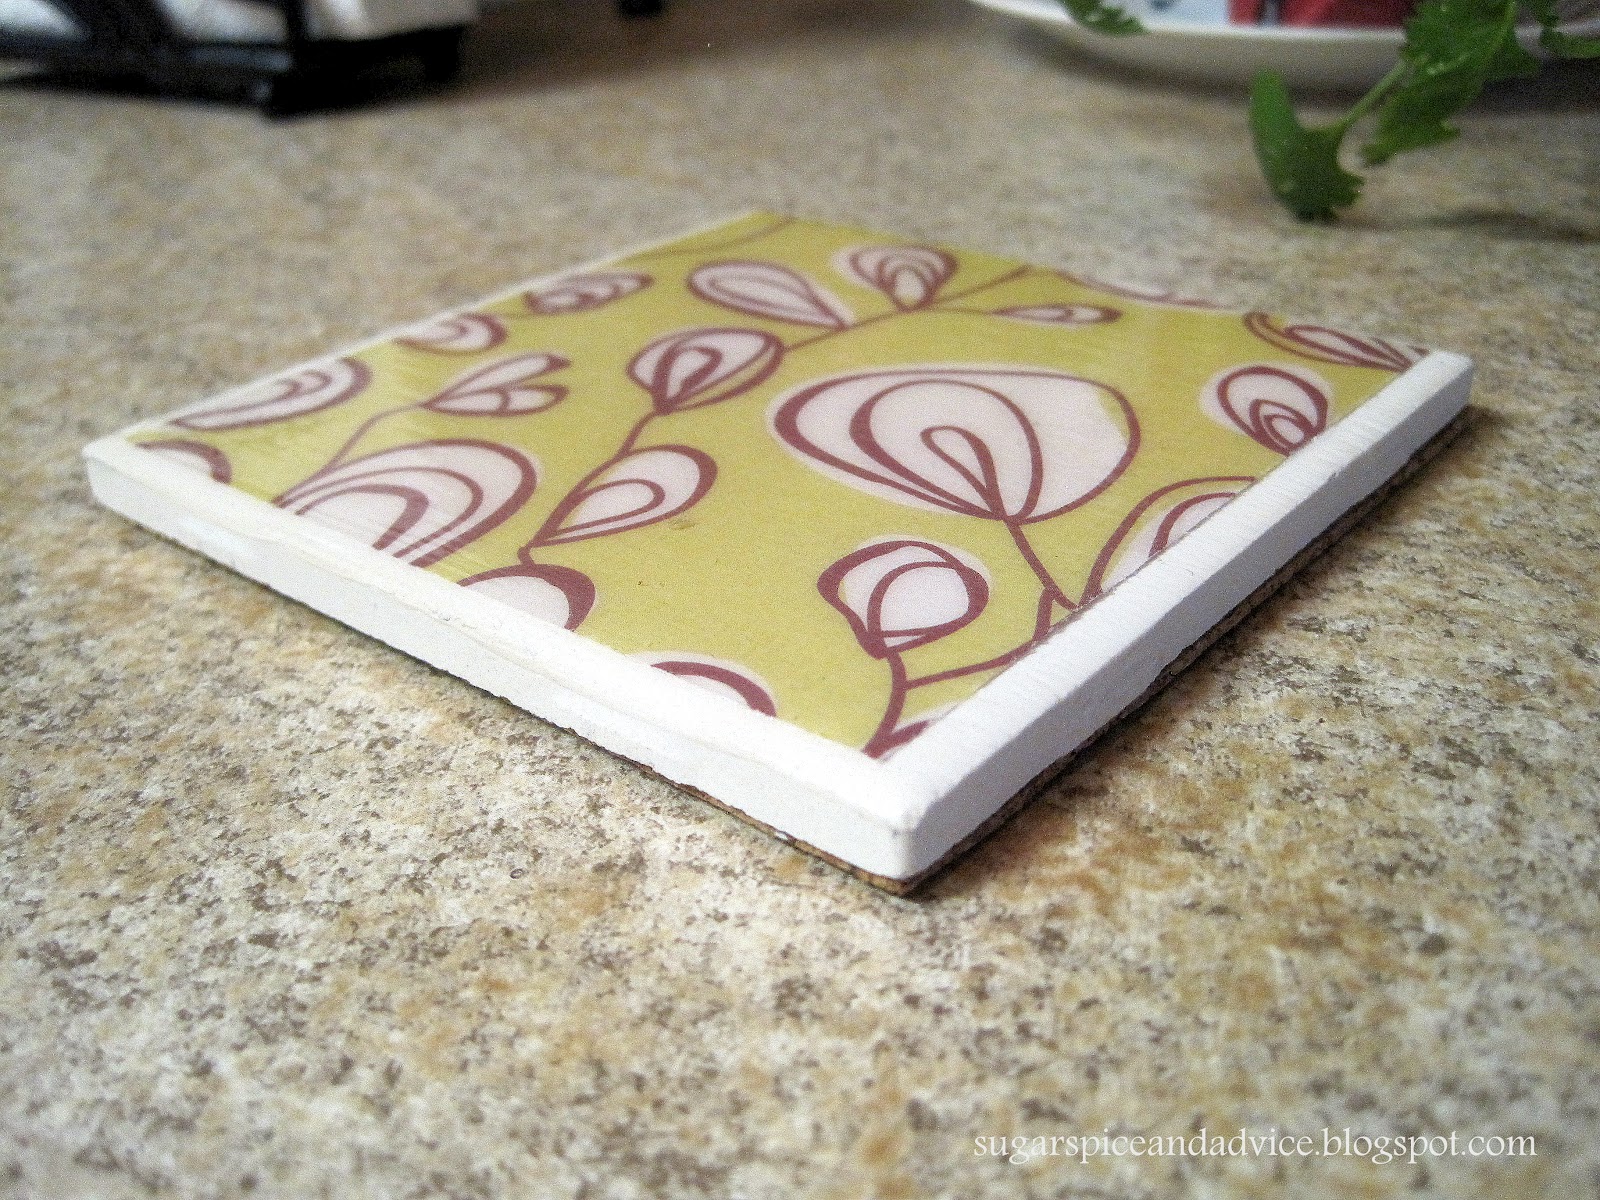
1) Cut about 4x4in squares of scrapbook paper
2)Wipe off tiles to get any dirt/residue off
3) Apply a thin later of Mod Podge to tile, stick on square of scrapbook paper

4) Smooth any bubbles from the inside out. I used a credit card to do this
5) Apply another thin layer of mod podge to the top of the scrapbook paper
Let this dry about 15-20 minutes.
6) Apply another couple of thin layers of Mod Podge, letting each layer dry about 15-20min in between. I found a few layers to be enough.
Make sure layers are completely dry before the next step.
7) You can use a fine sandpaper to wet-sand the final layer. This is optional. It can get rid of any ridges left by the brush but is not totally necessary. If you do this make sure to use some steel wool after sanding.
8) In a well ventilated area, spray an even coat of sealant on each coaster. I let dry for about 12 hours, or overnight.
9) Cut cork and stick on the bottom of the tile (mine was adhesive, if not use a superglue or Mod Podge to adhere cork to tile)
DONE! Try not to use with hot beverages for about 30 days to let Mod Podge completely cure.
Enjoy your coasters!
No comments :
Post a Comment
Thanks for your comments! I'd love to respond to you through email, so please make sure you have an email address linked to your account!