
Fall means it's time to hang a different wreath on my door.
Luckily, I was thinking ahead when I made my spring wreath a few months ago.
I decided to make the flowers removable so I could use the same wreath for different seasons. You'll see what I mean when I show you pictures of both.
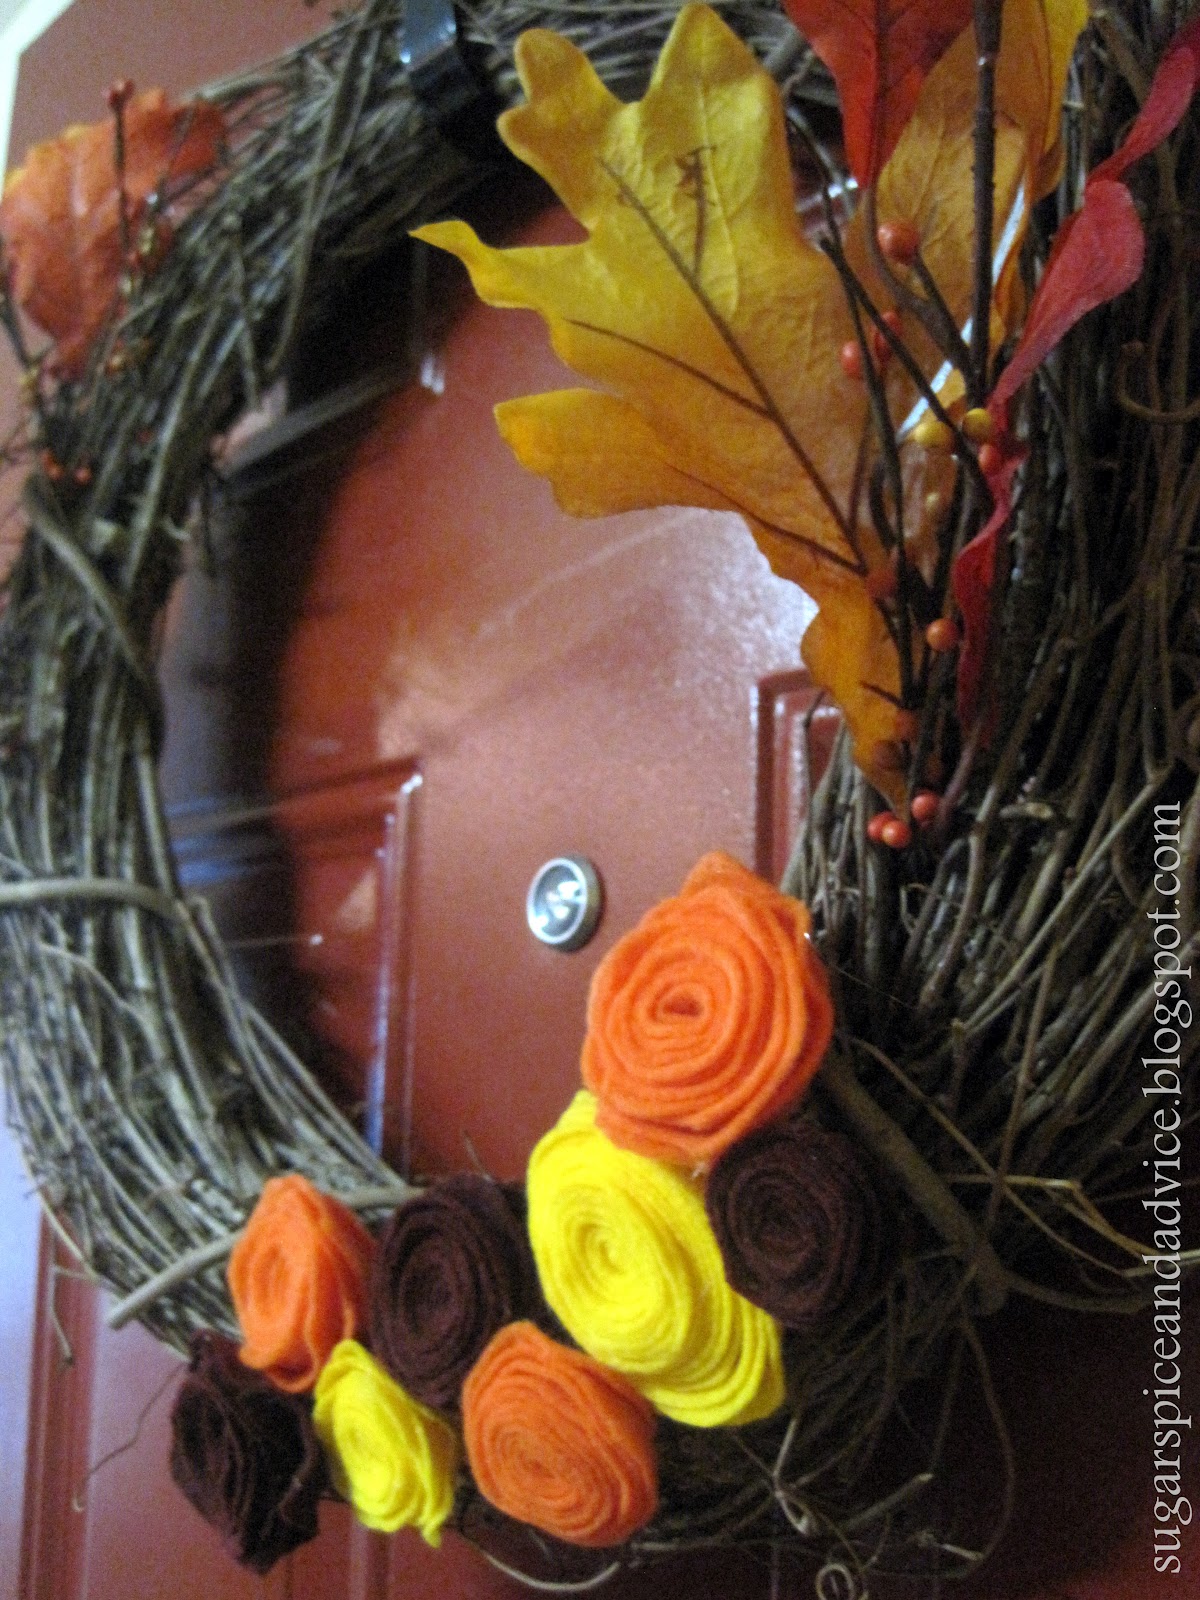
Here's my fall wreath...

And my spring wreath.

Want to know how to make it?
This is what you need:

Wreath (Hobby Lobby, Michael's or other craft store)
Felt sheets
Artificial flowers/branches (whatever looks pretty to you!)
Hot glue
Wire (I used floral wire that matched the wreath)
How to make the flowers:
Start with a circle of felt. The flower will turn out much smaller than your circle so start big to get an idea of how big they'll turn out.

Cut felt circle in a spiral pattern until you reach the inside. Make sure you have a circular space of felt in the very middle. You'll need this later.

Starting from the outside end, roll the felt. Looser rolling will result in a looser flower. Play with it and see what you like.

When you've finished rolling, glue the circular space onto the rest of the flower.

There you go!

I played around with different sizes, and also discovered that if I cut the circle into a wavy pattern, the flowers would turn out more textured...


Those are my favorite!
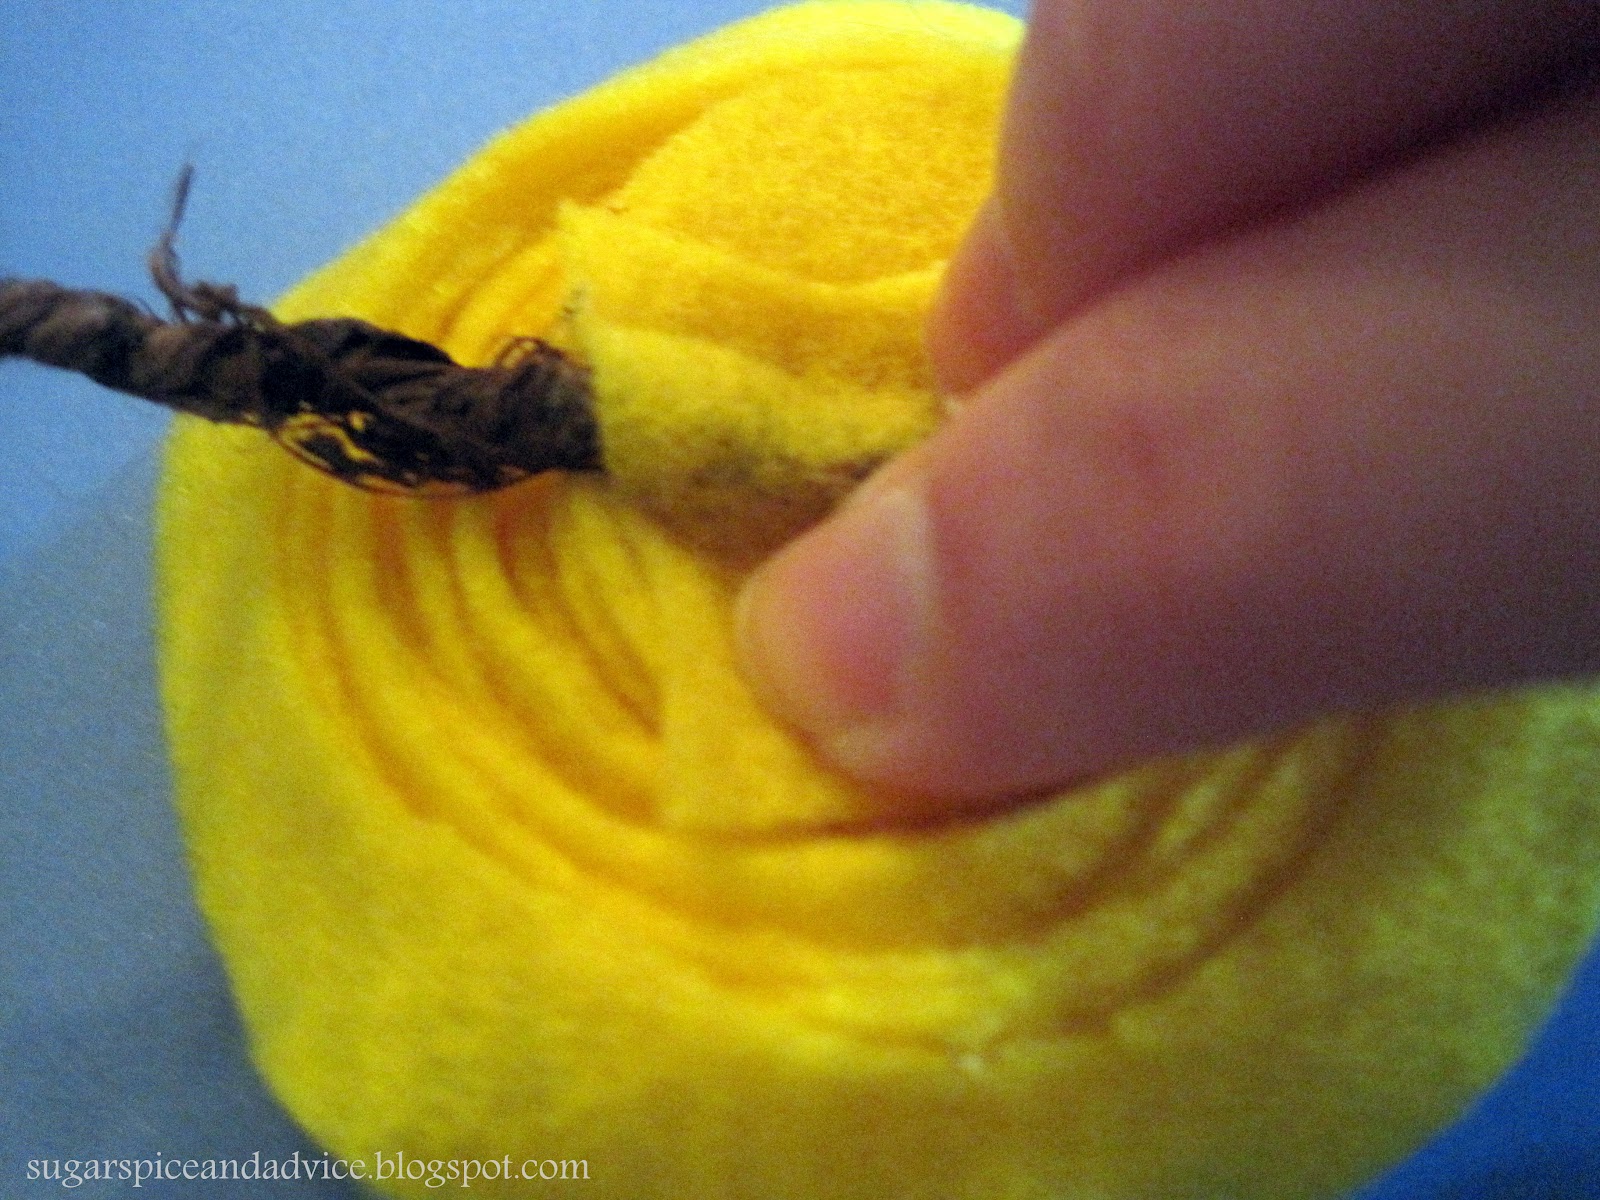
Next, you're going to glue the wire onto the back of the flowers.
Cut pieces of wire (about 2-3 inches in length each) with wire cutters.
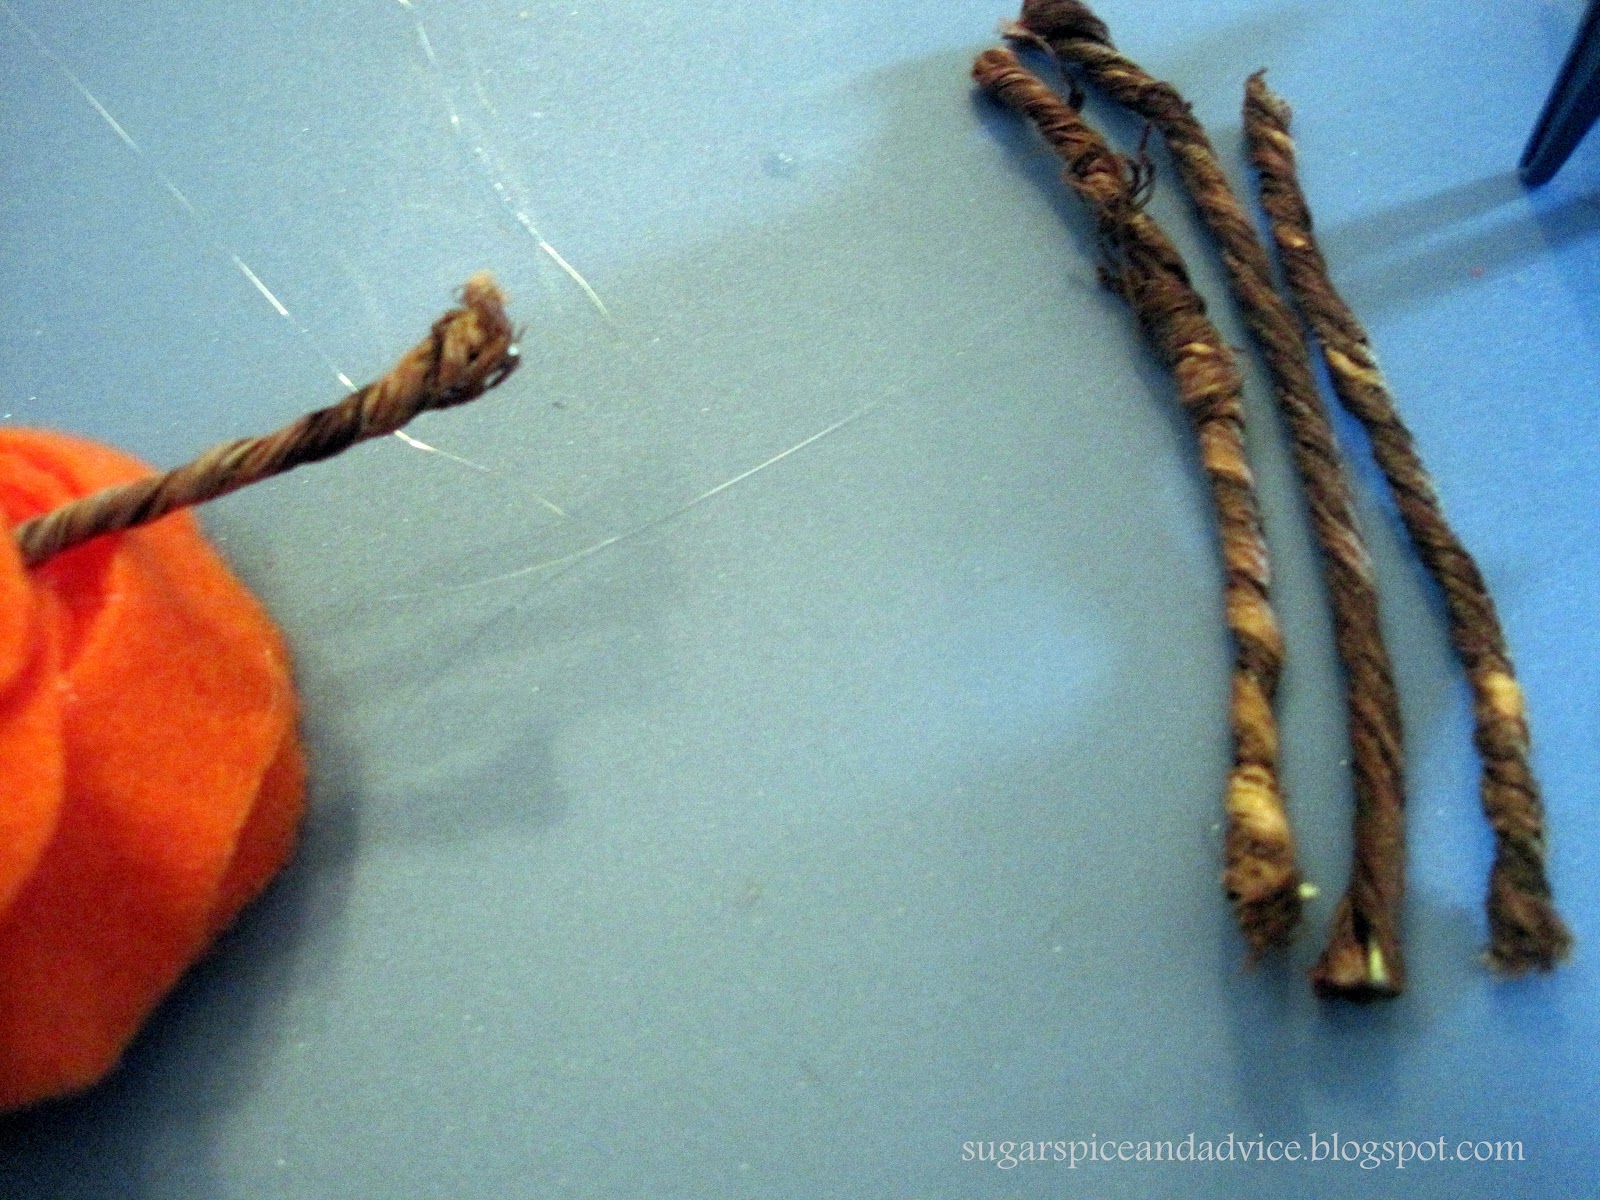
Apply glue to the back of the flower. Quickly affix wire. I then covered this area with a small piece of felt. This helps the wire stay put.
Make as many flowers as you'd like. Cut pieces of the flowers/leaves and stick it all in wherever you want.
I love making removable flowers because it's so easy to move them around and rearrange anytime.
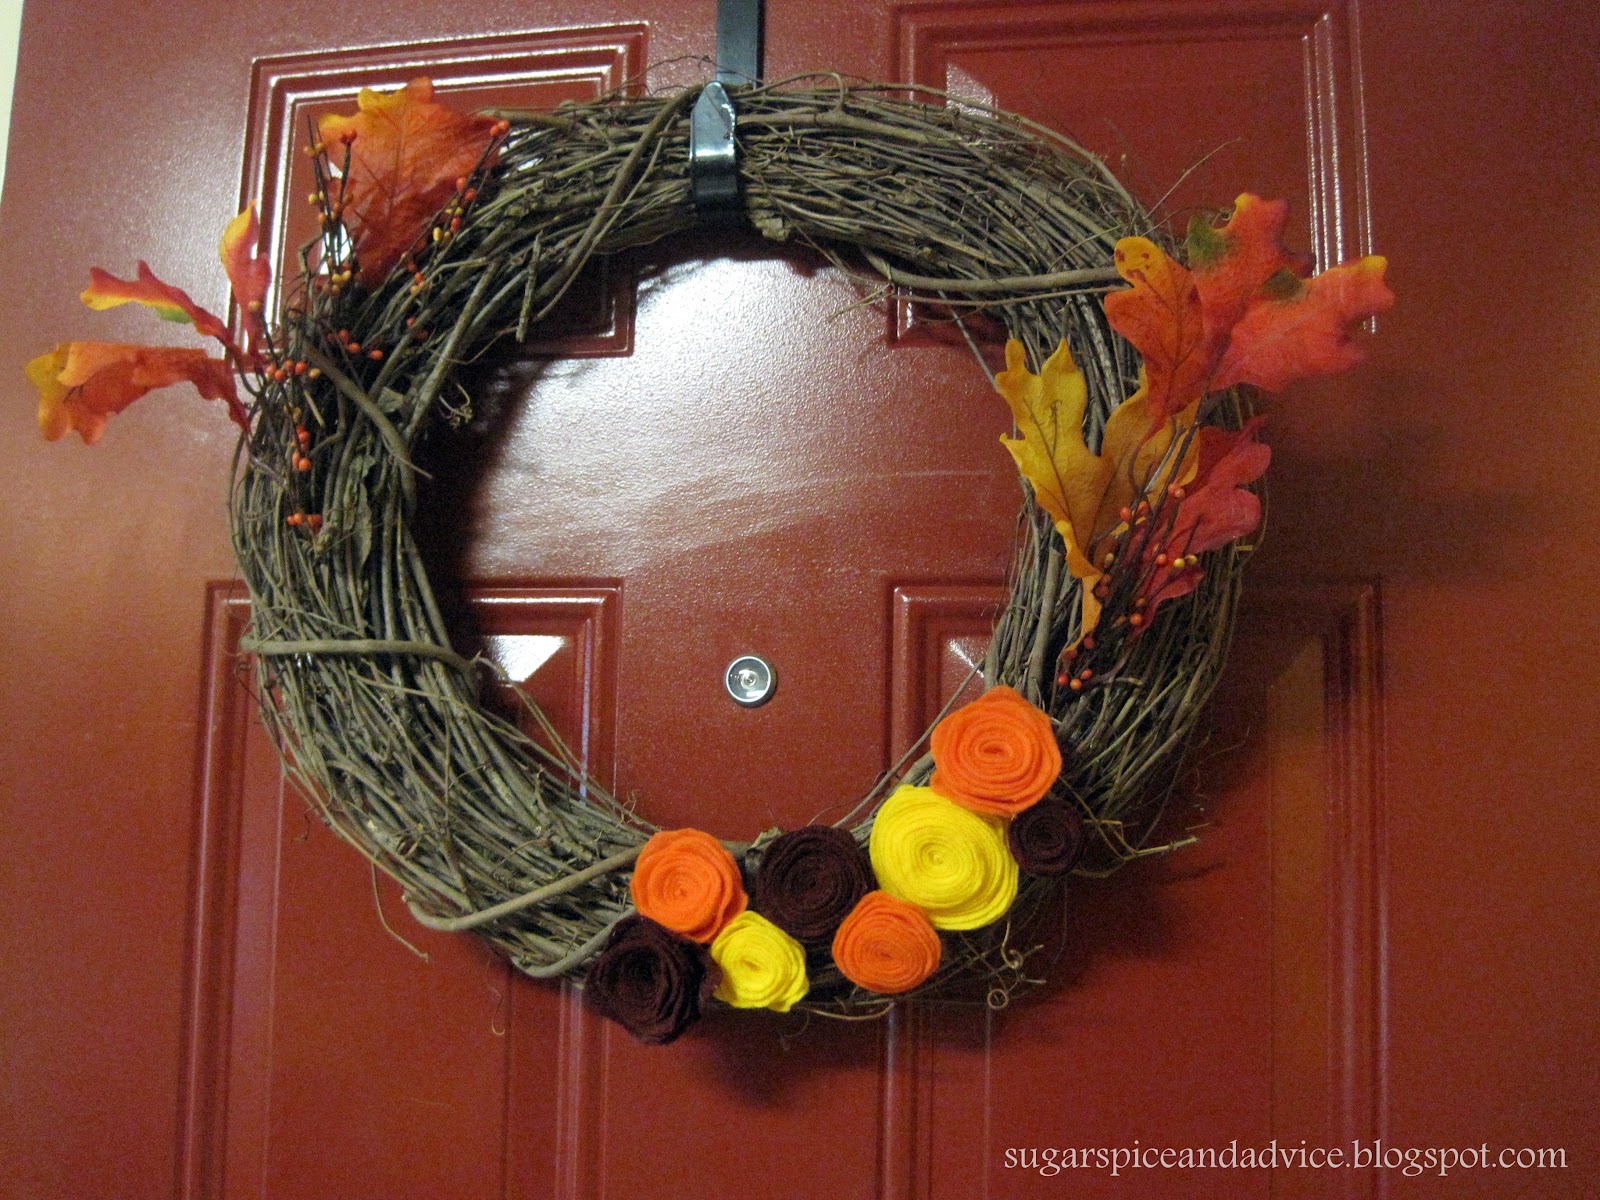
My love for wreaths has grown recently. They're the first thing you see at your door and they give a "homey" feel.
Have you seen any wreath ideas that you liked lately?


Such a pretty wreath!
ReplyDeleteThat is so pretty! I love all the ohydrangeas inches of hydrangeas. Love it!
ReplyDeleteLove this! I was actually looking on Pinterest to find a cute fall wreath to make!
ReplyDeleteLove this! I've been meaning to make a wreath! You should stop by and link this up to The Pinterest Project!
ReplyDeletehttp://www.mythreebittles.com/2012/09/tpp-weekly-link-up.html
I love making wreaths! Those flowers are super cute.
ReplyDeleteLooks great Alyssa! I just got materials to make a Halloween wreath.
ReplyDeleteOh my goodness this is the cutest! I always wondered how you make flowers like that! xo
ReplyDeletethis looks great :) I like that you can re-use the same wreath! I don't have one for our place yet.... might need to get one, though...
ReplyDeleteSoooo cute! I wish I didn't have a screen door. It makes it impossible to hang a wreath. And since it likes to rain sideways here, I can't hang one of the side of my house either. Maybe I should just hang one above my mantle? Haha....anywho....I totes love how crafty you've been lately!
ReplyDeleteLOVE your wreath! so freaking cute! ah it just gets me so excited its fall time! XO
ReplyDelete